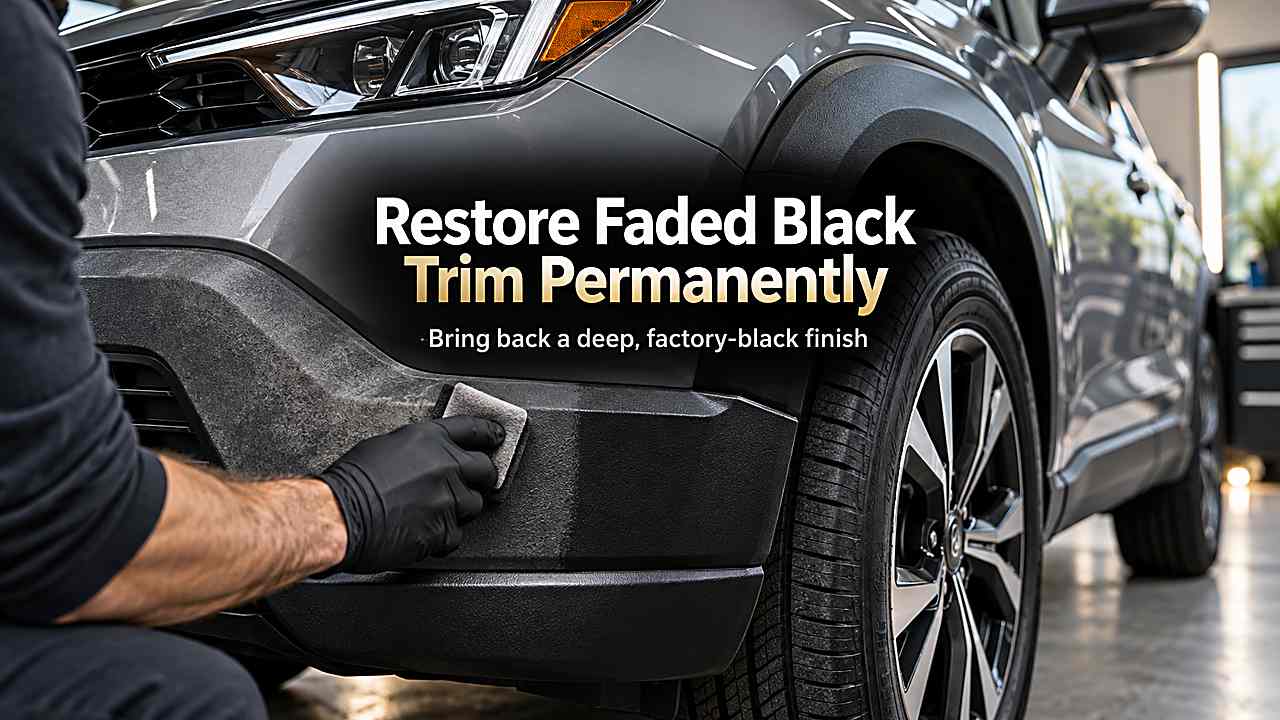
The longest-lasting way to restore faded exterior black plastic is to clean away oxidation and old dressings, fully dry and decontaminate the surface, then apply a trim coating that bonds to the plastic. Gtechniq C4 is one proven example and currently claims up to two years of durability when applied correctly.
Heat guns, peanut butter and oily dressings can darken trim temporarily, but they do not permanently reverse UV damage. Heat can also warp or permanently discolor textured plastic if you overdo it.
Clean the trim thoroughly, remove old dressing residue, let it dry and apply a dedicated long-life trim coating such as Gtechniq C4. Skip heat-gun tricks if you want consistent long-term results.
Why black plastic turns gray
UV exposure, oxidation, road film and repeated washing change the surface of unpainted plastic. Textured trim scatters light more as it oxidizes, which creates the chalky gray appearance.
Old silicone dressings can also trap dirt and create uneven fading. A controlled process is usually faster in the end because it prevents rework. If one step begins behaving differently from what you expect, stop and inspect before adding more force, heat, pressure or chemical strength.
Start with deeper cleaning than a normal car wash
Use an automotive all-purpose cleaner or dedicated trim cleaner and a medium brush to remove grime and previous dressings. Repeat until a clean towel no longer picks up oily residue.
Coatings bond poorly over silicone and wax. Good preparation also reduces the amount of expensive equipment you need. Clean surfaces, correct access and a clear workflow often matter more than buying the most powerful version of every tool.
Drying and decontamination decide whether the coating lasts
Water can remain in textured pores and around trim edges. Blow or towel-dry thoroughly and work out of direct sun.
If the product requires a panel-wipe or solvent prep, use the specified cleaner rather than substituting a strong household solvent. Think about storage and repeat use as well as the immediate job. A product that works perfectly once but is awkward to store, service or replace can become a poor home-garage choice over time.
What this means for your setup
Your best result comes from matching capacity to the task with some margin. Running tools continuously at their limit creates heat, wear and frustration even when the specification says the job is technically possible. A controlled process is usually faster in the end because it prevents rework. If one step begins behaving differently from what you expect, stop and inspect before adding more force, heat, pressure or chemical strength.
Apply the coating in small controlled sections
Gtechniq currently instructs users to work on a cool clean surface above about 41°F, spread C4 with a lint-free applicator and wipe residue immediately. Textured plastic needs extra attention so product does not pool in recesses.
Uneven application can dry as dark patches. When safety is involved, manufacturer procedures and rated equipment take priority over internet shortcuts. Saving a few minutes is never worth creating a lifting, electrical or braking hazard.
Give the coating its full cure time
C4 currently calls for about 12 hours of cure before exposure to the elements. Keep the vehicle dry if possible.
A second coat may be used after the first has cured when the manufacturer recommends it. Your best result comes from matching capacity to the task with some margin. Running tools continuously at their limit creates heat, wear and frustration even when the specification says the job is technically possible.
Why a heat gun is not a permanent restoration
Heating can draw oils toward the surface and temporarily darken plastic, but the effect is inconsistent and can fade again. Too much heat can warp trim or create glossy burn marks.
It is difficult to heat large textured pieces uniformly. That detail matters because it changes how safely and efficiently the job can be completed. You should choose the tool or method around the actual vehicle and working conditions rather than a headline specification.
What this means for your setup
Good preparation also reduces the amount of expensive equipment you need. Clean surfaces, correct access and a clear workflow often matter more than buying the most powerful version of every tool. When safety is involved, manufacturer procedures and rated equipment take priority over internet shortcuts. Saving a few minutes is never worth creating a lifting, electrical or braking hazard.
Why oily home remedies are a poor long-term fix
Peanut butter, cooking oils and similar tricks darken the surface because they leave oil behind. Dust sticks to that film and rain washes it away.
They also create contamination that must be removed before a real coating can bond. A controlled process is usually faster in the end because it prevents rework. If one step begins behaving differently from what you expect, stop and inspect before adding more force, heat, pressure or chemical strength.
When dye or replacement is the better answer
Trim that has turned blotchy, physically degraded or been sanded may not restore evenly with a clear coating. Plastic dye or replacement can provide a more uniform result.
Test a small area before coating every piece. Good preparation also reduces the amount of expensive equipment you need. Clean surfaces, correct access and a clear workflow often matter more than buying the most powerful version of every tool.
Maintain coated trim gently
Use normal pH-balanced wash methods and avoid aggressive degreasers on coated trim unless necessary. A long-life coating reduces the need for repeated dressing.
Clean the surface instead of layering silicone shine over it. Think about storage and repeat use as well as the immediate job. A product that works perfectly once but is awkward to store, service or replace can become a poor home-garage choice over time.
What this means for your setup
Your best result comes from matching capacity to the task with some margin. Running tools continuously at their limit creates heat, wear and frustration even when the specification says the job is technically possible. A controlled process is usually faster in the end because it prevents rework. If one step begins behaving differently from what you expect, stop and inspect before adding more force, heat, pressure or chemical strength.
A practical pre-job checklist
Good preparation also reduces the amount of expensive equipment you need. Clean surfaces, correct access and a clear workflow often matter more than buying the most powerful version of every tool. When safety is involved, manufacturer procedures and rated equipment take priority over internet shortcuts. Saving a few minutes is never worth creating a lifting, electrical or braking hazard.
Protect adjacent paint and glass during application
Trim coatings can be difficult to remove once cured on paint or glass. Mask narrow edges if you are not confident with the applicator and keep a clean microfiber ready to wipe accidental contact immediately. Work one piece at a time instead of coating the entire car before buffing.
Textured cowl panels and honeycomb grilles can trap excess product. Use a small applicator and inspect from several angles so liquid does not collect in recesses and cure white or glossy.
Severely oxidized trim may need a test patch before full coating
Clean one small area completely and apply the coating according to directions. After it cures, compare color and uniformity with the surrounding trim. If the plastic remains blotchy, chalky or physically pitted, the substrate may be too degraded for a transparent restorer to look even.
A test patch also reveals whether old silicone dressing is still contaminating the surface. Fish-eye behavior, streaking or poor wetting are signs that more cleaning is needed before you commit to the whole vehicle.
Do not expect a coating to hide physical damage
A trim coating can restore color and protect the surface, but it will not erase deep scratches, gouges or melted plastic. If the trim has been scuffed white, carefully cleaning and coating may reduce the contrast without making the damage disappear. Replacement or dye may be the only way to achieve a fully uniform result on severely damaged parts.
Set expectations before coating expensive textured trim. A natural darkened finish is the goal, not artificial wet gloss. If one piece is physically different from the rest, forcing more product onto it usually creates unevenness instead of improvement.
UV prevention is easier than repeating full restoration
Once the trim looks uniform again, normal washing and sensible parking habits help preserve the result. Avoid repeatedly scrubbing coated trim with strong all-purpose cleaner or stiff brushes unless contamination demands it. If the vehicle lives outside, keeping the plastic clean and using the coating maker’s maintenance guidance slows the return of chalky oxidation. Long-term trim care is more successful when restoration is treated as a protective system rather than a one-time color trick.
Temperature and shade improve coating consistency
Trim coatings are easier to spread evenly on a cool surface out of direct sun. Hot plastic can flash product too quickly and make buffing difficult, while very cold conditions can slow curing. Follow the manufacturer’s temperature range and plan the job when the car can remain dry afterward. Working panel by panel in stable conditions gives you a more uniform finish and reduces the risk of streaks that are difficult to correct once the coating cures.
Frequently Asked Questions
Long-term trim restoration is mainly a surface-preparation problem. The coating can only last as well as the plastic is cleaned before application.
Can faded black plastic be permanently restored?
You can achieve long-term restoration with a coating that bonds to the plastic, but no exterior finish lasts forever. Gtechniq C4 currently claims up to two years.
Severe physical degradation may require dye or replacement. Think about storage and repeat use as well as the immediate job. A product that works perfectly once but is awkward to store, service or replace can become a poor home-garage choice over time.
Does a heat gun really restore black trim?
It can darken some plastic temporarily by changing the surface and drawing oils outward. Results vary and the risk of warping or uneven gloss is real.
It is not the most controlled long-term method. When safety is involved, manufacturer procedures and rated equipment take priority over internet shortcuts. Saving a few minutes is never worth creating a lifting, electrical or braking hazard.
Can you use ceramic coating made for paint on plastic trim?
Some paint coatings are compatible with trim, but a dedicated trim coating is designed for the surface chemistry and texture. Follow the product instructions.
Do not assume every paint ceramic coating will restore faded plastic color. Your best result comes from matching capacity to the task with some margin. Running tools continuously at their limit creates heat, wear and frustration even when the specification says the job is technically possible.
Why did trim restorer turn blotchy?
Uneven cleaning, old silicone, trapped moisture or excess product can create patchiness. Heavily textured trim can hold puddles in recesses.
Clean thoroughly and wipe residue as directed. That detail matters because it changes how safely and efficiently the job can be completed. You should choose the tool or method around the actual vehicle and working conditions rather than a headline specification.
Should you restore trim before polishing paint?
Usually protect or polish the paint first if the polishing process can stain trim. Mask plastic during correction.
Then clean the trim again and apply the coating so polishing oils do not interfere with bonding. A controlled process is usually faster in the end because it prevents rework. If one step begins behaving differently from what you expect, stop and inspect before adding more force, heat, pressure or chemical strength.
Conclusion
Clean the trim thoroughly, remove old dressing residue, let it dry and apply a dedicated long-life trim coating such as Gtechniq C4. Skip heat-gun tricks if you want consistent long-term results. The safest and most cost-effective result comes from choosing capacity and technique for the real job rather than buying or using more than the situation requires.
If the vehicle, tool or procedure falls outside what you can verify confidently, use the manufacturer’s service information or a qualified technician. Good garage work is repeatable, controlled and safe.