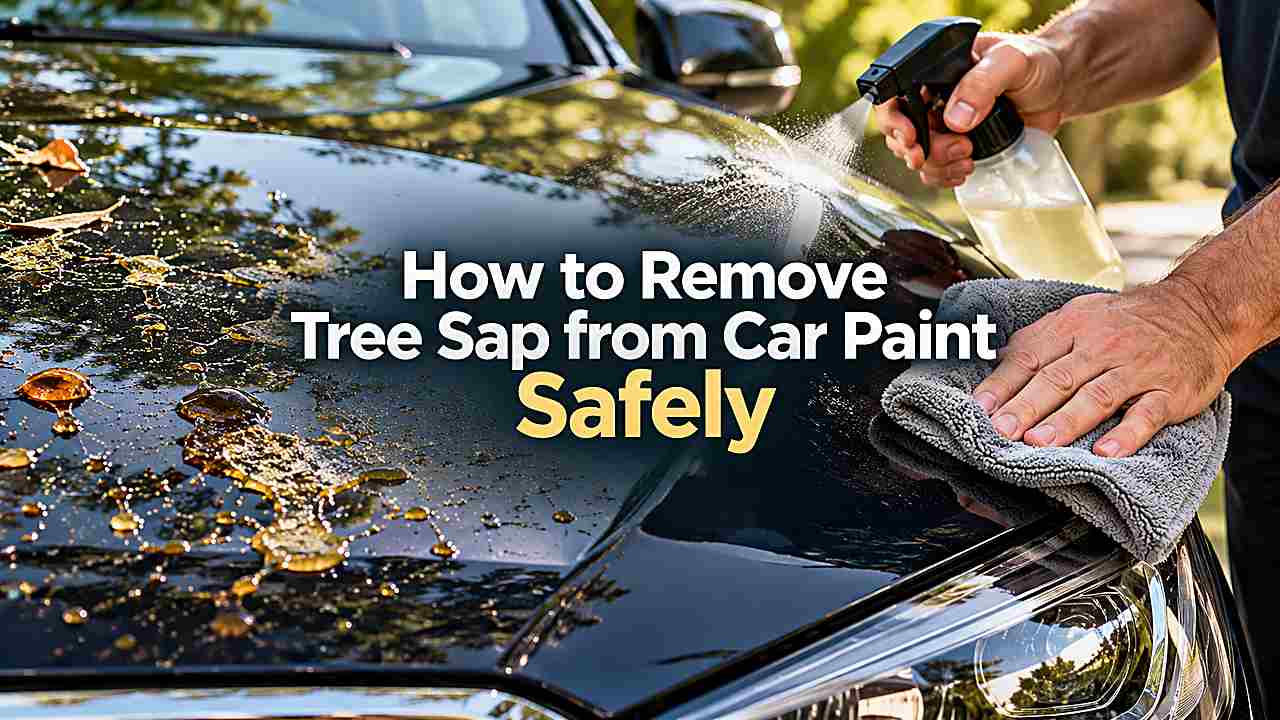
Tree sap looks harmless at first, but it can bond tightly to clear coat as it dries. If you scrape it, attack it with harsh solvent or rub the spot while grit is trapped underneath, you can turn a small sticky mark into scratches, haze or stained paint.
The safest approach is to soften the sap, lift it gradually and then wash and protect the area. You do not need to punish the paint to remove sap; you need patience, the right cleaner and a clean microfiber towel.
Tree sap should be softened first, then lifted with a paint-safe sap remover, isopropyl alcohol mix or dedicated tar remover. Avoid scraping, dry rubbing and strong household solvents that can mar or dull the clear coat.
Why tree sap can damage paint if you rush it
Fresh sap is usually soft and easier to release, but old sap hardens into a sticky resin that grips the paint. Heat from the sun can bake it into the surface and make it feel almost like a raised clear drop. When you rub that spot aggressively, you are not just wiping away residue; you may be dragging hardened material across the clear coat. That is why the first goal is softening, not force.
Sap can also trap dust, pollen and road grit. If you press a towel into that contamination without washing the surrounding panel, the towel becomes an abrasive pad. Dark paint makes the damage more visible because fine scratches catch light around the cleaned area. You get a cleaner result when the panel and towel are both clean before you begin.
In practice, you should let the surface guide the next step. If it feels rough, sticky, greasy or unusually warm, slow down and correct that condition first. If the surface looks clean but still shows a defect, the problem may have moved from cleaning into correction, protection or repair. That distinction helps you avoid using the wrong product for the wrong job.
What you need before you touch the sap
A safe setup is simple: car shampoo, water, several clean microfiber towels, a paint-safe sap or tar remover, and optional diluted isopropyl alcohol for stubborn residue. You may also want nitrile gloves because softened sap can become messy. Keep a separate towel for the final wipe so you are not reusing a sap-loaded towel on clean paint.
Avoid razor blades, kitchen scrub pads, gasoline, acetone, lacquer thinner and strong all-purpose cleaners unless the product label specifically says it is safe for automotive paint. Those products can soften, stain or haze clear coat. If you are working near plastic trim, decals, PPF or fresh repaint, test in a hidden area first.
In practice, you should let the surface guide the next step. If it feels rough, sticky, greasy or unusually warm, slow down and correct that condition first. If the surface looks clean but still shows a defect, the problem may have moved from cleaning into correction, protection or repair. That distinction helps you avoid using the wrong product for the wrong job.
Safe step-by-step sap removal
This workflow works best when you move in order and inspect the surface as you go. The sequence below keeps the repair controlled, reduces avoidable damage and helps you stop before a small detailing problem becomes a larger one.
1. Cool and wash the affected panel.
Start by washing the panel around the sap. You do not need to wash the entire car if only one area is affected, but the immediate surface should be free of grit. Rinse well and leave the panel cool to the touch. A shaded surface gives the cleaner more working time and reduces streaking.
Work patiently here because pressure and speed are usually what create avoidable damage. If the result is not improving after a careful pass, pause and reassess instead of increasing force. You can always repeat a safe step, but you cannot undo scratches, staining or material damage caused by rushing.
2. Soften the sap before wiping.
Next, place a damp microfiber towel over the sap for a few minutes to begin softening it. For thicker spots, apply a small amount of dedicated sap remover or tar remover to the towel rather than flooding the panel. Hold the towel on the sap, then wipe gently in short passes. If the sap resists, reapply and wait rather than increasing pressure.
Work patiently here because pressure and speed are usually what create avoidable damage. If the result is not improving after a careful pass, pause and reassess instead of increasing force. You can always repeat a safe step, but you cannot undo scratches, staining or material damage caused by rushing.
3. Apply remover to the towel, not the whole panel.
Once the main deposit lifts, clean the area with car shampoo or a paint-safe detail spray to remove solvent residue. Inspect the paint from several angles. If a faint shadow remains, it may be leftover residue, light staining or a slight etch from sap sitting too long. Do not chase it with aggressive rubbing until you know which problem you have.
Work patiently here because pressure and speed are usually what create avoidable damage. If the result is not improving after a careful pass, pause and reassess instead of increasing force. You can always repeat a safe step, but you cannot undo scratches, staining or material damage caused by rushing.
4. Lift in short, gentle passes.
Start by washing the panel around the sap. You do not need to wash the entire car if only one area is affected, but the immediate surface should be free of grit. Rinse well and leave the panel cool to the touch. A shaded surface gives the cleaner more working time and reduces streaking.
Work patiently here because pressure and speed are usually what create avoidable damage. If the result is not improving after a careful pass, pause and reassess instead of increasing force. You can always repeat a safe step, but you cannot undo scratches, staining or material damage caused by rushing.
5. Wash, inspect and protect the area.
Next, place a damp microfiber towel over the sap for a few minutes to begin softening it. For thicker spots, apply a small amount of dedicated sap remover or tar remover to the towel rather than flooding the panel. Hold the towel on the sap, then wipe gently in short passes. If the sap resists, reapply and wait rather than increasing pressure.
Work patiently here because pressure and speed are usually what create avoidable damage. If the result is not improving after a careful pass, pause and reassess instead of increasing force. You can always repeat a safe step, but you cannot undo scratches, staining or material damage caused by rushing.
How to handle old, hardened or baked-on sap
Older sap usually needs repeated softening cycles. You may have to hold a saturated towel on the spot several times before the deposit begins to move. This is normal and safer than trying to break it off with a fingernail. If the sap sits on a horizontal surface such as the hood or roof, gravity can help the cleaner stay on the spot when applied to a folded towel.
If the sap leaves a visible ring after removal, the clear coat may be lightly etched or stained. A mild polish can sometimes improve that mark, but polishing removes a tiny amount of clear coat. If you are unsure, stop after cleaning and get the spot inspected before using compound or a machine polisher.
In practice, you should let the surface guide the next step. If it feels rough, sticky, greasy or unusually warm, slow down and correct that condition first. If the surface looks clean but still shows a defect, the problem may have moved from cleaning into correction, protection or repair. That distinction helps you avoid using the wrong product for the wrong job.
Protect the paint after sap removal
Sap removers and alcohol-based cleaners can strip waxes or weaken some spray protection in the area. After the paint is clean and dry, reapply your wax, sealant or ceramic spray coating to that section. This does not make the car sap-proof, but it gives future contamination a sacrificial layer and makes fresh sap easier to remove.
Parking habits matter too. If you regularly park under sap-dropping trees, quick removal is the biggest protection. A fresh spot handled the same day is far less likely to stain than one that bakes for weeks. Keeping a small detailing kit in the garage helps you respond before the sap hardens.
In practice, you should let the surface guide the next step. If it feels rough, sticky, greasy or unusually warm, slow down and correct that condition first. If the surface looks clean but still shows a defect, the problem may have moved from cleaning into correction, protection or repair. That distinction helps you avoid using the wrong product for the wrong job.
Frequently Asked Questions
Can I use rubbing alcohol to remove tree sap from car paint?
Yes, diluted isopropyl alcohol can help with some sap residue, but it should be used carefully and wiped away afterward. Apply it to a microfiber towel rather than pouring it onto the paint. Do not let it dwell on hot panels, fresh paint, decals or sensitive trim. After cleaning, wash or wipe the area and replace any wax or sealant that was stripped.
The safest choice is to start with the least aggressive method that can reasonably work, then inspect before moving stronger. Your paint, trim, fabric or leather may respond differently depending on age, previous products and heat exposure. A small test spot gives you useful feedback before you treat a larger visible area.
Will tree sap permanently damage clear coat?
It can if it sits long enough, especially in sun and heat. Sap can stain or etch the surface, leaving a mark even after the sticky material is gone. Fresh sap is usually far easier to remove safely. If you already see a dull spot or ring, cleaning may not be enough and light polishing may be needed.
The safest choice is to start with the least aggressive method that can reasonably work, then inspect before moving stronger. Your paint, trim, fabric or leather may respond differently depending on age, previous products and heat exposure. A small test spot gives you useful feedback before you treat a larger visible area.
Is a clay bar safe for tree sap?
Clay can remove small leftover residue, but it is not the first tool for thick sap. Large sticky deposits can clog clay and drag contamination across the paint. Soften and remove the bulk of the sap first. If you use clay afterward, lubricate heavily and plan to polish if the area becomes slightly marred.
The safest choice is to start with the least aggressive method that can reasonably work, then inspect before moving stronger. Your paint, trim, fabric or leather may respond differently depending on age, previous products and heat exposure. A small test spot gives you useful feedback before you treat a larger visible area.
Can I scrape sap off with a plastic card?
A plastic card is safer than a metal blade, but scraping is still risky on paint. The hardened sap and trapped grit can scratch the clear coat as you push. If you use any mechanical help, soften the sap first and keep pressure extremely light. In most cases, repeated chemical softening is safer.
The safest choice is to start with the least aggressive method that can reasonably work, then inspect before moving stronger. Your paint, trim, fabric or leather may respond differently depending on age, previous products and heat exposure. A small test spot gives you useful feedback before you treat a larger visible area.
Should I wax the car after removing sap?
Yes, at least rewax or reseal the cleaned area. Sap removers, tar removers and alcohol can remove existing protection. A fresh protective layer helps the panel shed water and makes future sap easier to clean. Make sure all residue is gone before applying protection.
The safest choice is to start with the least aggressive method that can reasonably work, then inspect before moving stronger. Your paint, trim, fabric or leather may respond differently depending on age, previous products and heat exposure. A small test spot gives you useful feedback before you treat a larger visible area.
Conclusion
Tree sap should be softened first, then lifted with a paint-safe sap remover, isopropyl alcohol mix or dedicated tar remover. Avoid scraping, dry rubbing and strong household solvents that can mar or dull the clear coat. The most reliable result comes from identifying the material and defect first, then choosing a method that solves that exact problem without creating new damage.
For your next step, clean and inspect the area in good light, test any new product in a small spot and work gradually. If the surface is already cracked, deeply etched, heavily stained or structurally damaged, stop before overworking it and get a professional opinion.