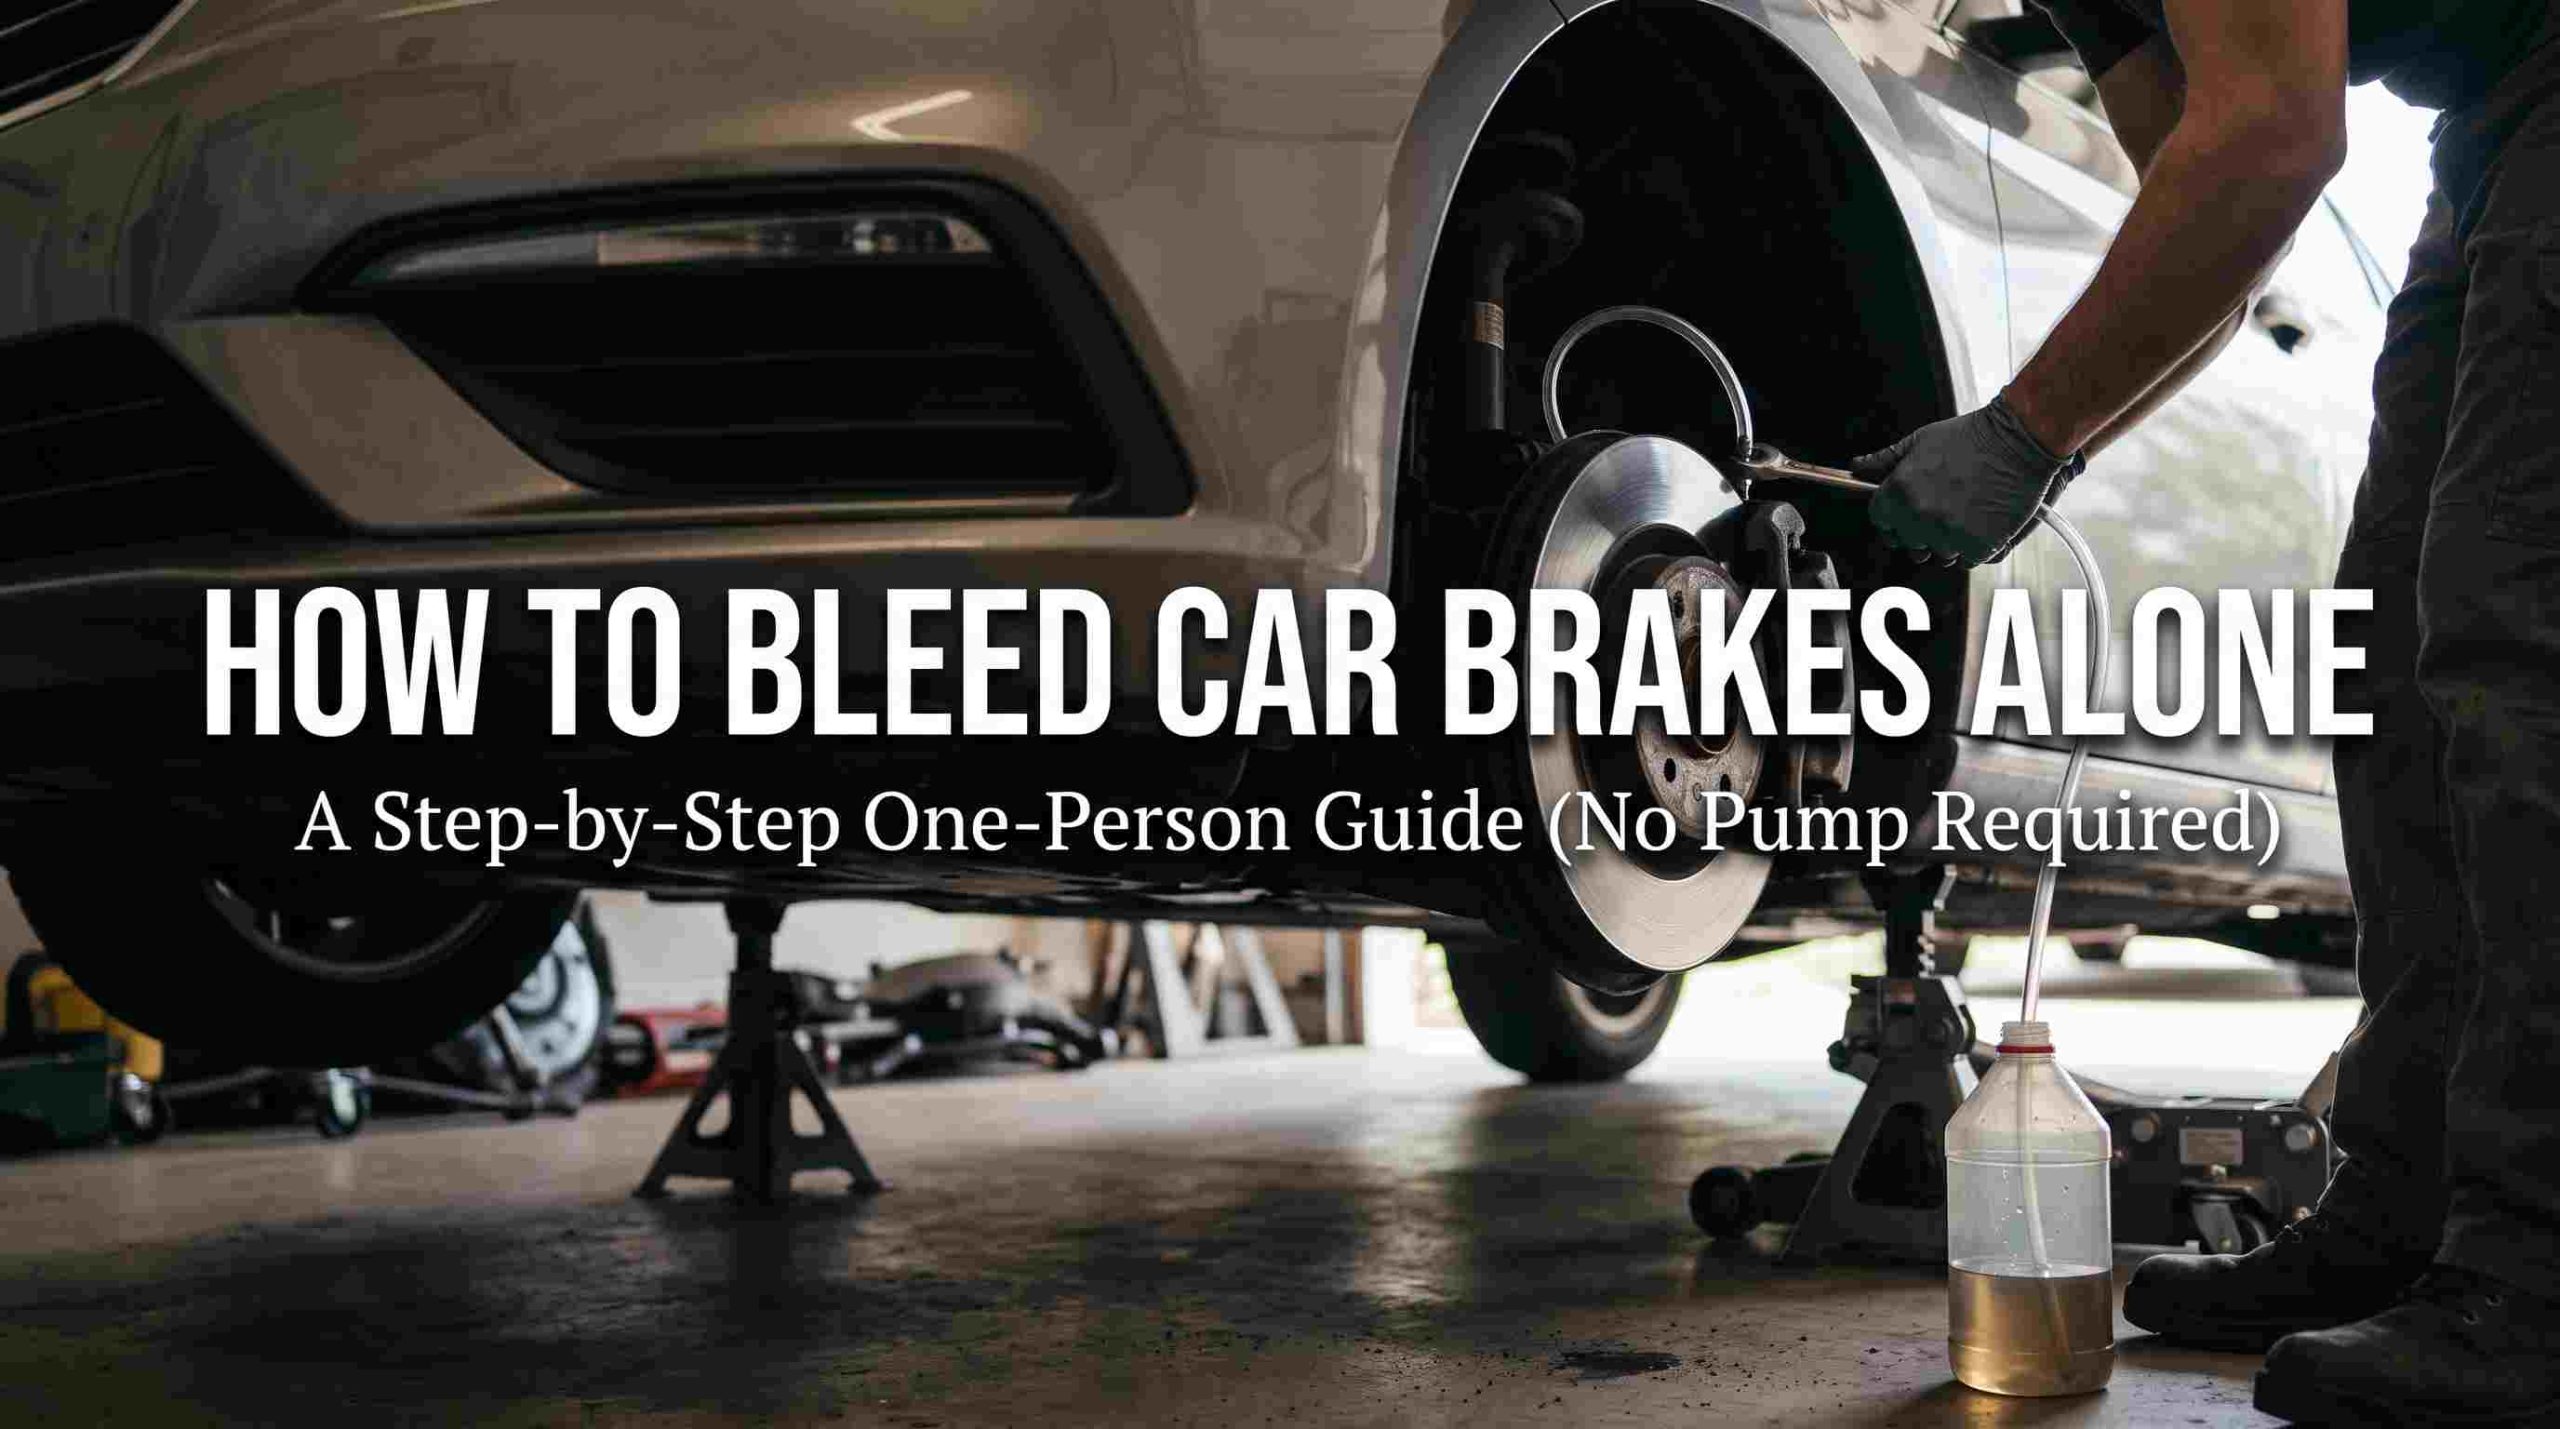
You can bleed many brake systems alone without a pressure or vacuum pump by using gravity bleeding or a simple one-person hose-and-bottle method. Gravity bleeding is the easiest: keep the reservoir full, open the bleeder on the appropriate wheel and allow fluid and air to flow until the stream is clean and bubble-free.
Brake systems vary, especially ABS-equipped vehicles, so use the manufacturer’s bleed order and procedure. If the master cylinder runs dry, you can introduce more air and turn a simple job into a scan-tool or bench-bleeding problem.
Gravity bleeding is the simplest no-pump method. Keep the reservoir full, open one bleeder at a time in the specified sequence and never let air re-enter through a low reservoir or loose hose.
When brake bleeding is actually needed
Bleed when a hydraulic component has been opened, fluid is being flushed, or air has entered the system. A normal pad change usually does not require bleeding if no line was opened.
A persistently soft pedal can also come from a leak or mechanical issue, so bleeding is not a cure for every brake problem. A controlled process is usually faster in the end because it prevents rework. If one step begins behaving differently from what you expect, stop and inspect before adding more force, heat, pressure or chemical strength.
Use the correct brake fluid
The reservoir cap and owner’s manual specify DOT 3, DOT 4 or another required fluid. Do not mix in an incompatible fluid.
Use a fresh sealed container because glycol-based brake fluid absorbs moisture from the air. Good preparation also reduces the amount of expensive equipment you need. Clean surfaces, correct access and a clear workflow often matter more than buying the most powerful version of every tool.
Prepare the car safely
Park on level ground, chock wheels and lift only if necessary using stands at approved points. Remove enough wheels to reach the bleeders comfortably.
Clean dirt from the bleeder screws before opening them. Think about storage and repeat use as well as the immediate job. A product that works perfectly once but is awkward to store, service or replace can become a poor home-garage choice over time.
What this means for your setup
Your best result comes from matching capacity to the task with some margin. Running tools continuously at their limit creates heat, wear and frustration even when the specification says the job is technically possible. A controlled process is usually faster in the end because it prevents rework. If one step begins behaving differently from what you expect, stop and inspect before adding more force, heat, pressure or chemical strength.
Method 1: gravity bleeding
Fill the reservoir, attach a clear hose to the bleeder and route it into a clean catch bottle. Open the bleeder slightly and allow gravity to move fluid through the line. Keep checking the reservoir frequently.
Once the stream is clean and free of bubbles, close the bleeder before removing the hose. When safety is involved, manufacturer procedures and rated equipment take priority over internet shortcuts. Saving a few minutes is never worth creating a lifting, electrical or braking hazard.
Gravity bleeding is slow but gentle
Haynes notes that gravity bleeding can work on many modern cars and may take significant time per wheel. The method avoids repeatedly stroking the master cylinder.
It is especially useful when you have no helper, but it may not remove stubborn trapped air in every system. Your best result comes from matching capacity to the task with some margin. Running tools continuously at their limit creates heat, wear and frustration even when the specification says the job is technically possible.
Method 2: one-way hose and bottle
A simple one-person bleeder uses a hose submerged in clean brake fluid or a check valve so released air cannot easily return. Pump the pedal slowly, hold or follow the kit directions, then verify that the hose remains sealed on the nipple.
This is faster than gravity on some cars. That detail matters because it changes how safely and efficiently the job can be completed. You should choose the tool or method around the actual vehicle and working conditions rather than a headline specification.
What this means for your setup
Good preparation also reduces the amount of expensive equipment you need. Clean surfaces, correct access and a clear workflow often matter more than buying the most powerful version of every tool. When safety is involved, manufacturer procedures and rated equipment take priority over internet shortcuts. Saving a few minutes is never worth creating a lifting, electrical or braking hazard.
Follow the correct wheel sequence
The traditional farthest-to-nearest order is common, but ABS layouts and manufacturer procedures can differ. Use service information for your specific vehicle.
Do not assume right rear always comes first. A controlled process is usually faster in the end because it prevents rework. If one step begins behaving differently from what you expect, stop and inspect before adding more force, heat, pressure or chemical strength.
Never let the master cylinder reservoir run dry
Check the fluid level repeatedly and top it up before it approaches the minimum. If the reservoir empties, air can enter the master cylinder and ABS hydraulic unit.
Some vehicles then require a scan tool to cycle valves. Good preparation also reduces the amount of expensive equipment you need. Clean surfaces, correct access and a clear workflow often matter more than buying the most powerful version of every tool.
Do not over-tighten bleeder screws
Bleeders seal on their seat, not by extreme thread torque. Tighten to the service specification.
Snapping a bleeder can turn a fluid flush into a caliper or wheel-cylinder replacement. Think about storage and repeat use as well as the immediate job. A product that works perfectly once but is awkward to store, service or replace can become a poor home-garage choice over time.
What this means for your setup
Your best result comes from matching capacity to the task with some margin. Running tools continuously at their limit creates heat, wear and frustration even when the specification says the job is technically possible. A controlled process is usually faster in the end because it prevents rework. If one step begins behaving differently from what you expect, stop and inspect before adding more force, heat, pressure or chemical strength.
Test the pedal before driving
With the engine off, the pedal should become firm after normal strokes. Start the engine and verify expected booster behavior. Inspect every bleeder and hose connection for leaks.
Perform a slow private-area test before normal road driving. When safety is involved, manufacturer procedures and rated equipment take priority over internet shortcuts. Saving a few minutes is never worth creating a lifting, electrical or braking hazard.
When gravity bleeding is not enough
A system that has been completely emptied, an ABS hydraulic unit containing air or a replaced master cylinder may require a specific automated or pressure-bleeding procedure. If the pedal remains soft after proper bleeding, stop and diagnose the system rather than continuing to pump fluid.
Your best result comes from matching capacity to the task with some margin. Running tools continuously at their limit creates heat, wear and frustration even when the specification says the job is technically possible.
A practical pre-job checklist
Good preparation also reduces the amount of expensive equipment you need. Clean surfaces, correct access and a clear workflow often matter more than buying the most powerful version of every tool. When safety is involved, manufacturer procedures and rated equipment take priority over internet shortcuts. Saving a few minutes is never worth creating a lifting, electrical or braking hazard.
Old bleeder screws can turn a simple job into a repair
Before applying heavy force, soak rusty bleeders with penetrating oil and use a six-point wrench or flare-style tool that fits correctly. Snapping the screw may require caliper or wheel-cylinder replacement. If the bleeder rounds or refuses to move, stop before making it worse.
Once the job is finished, reinstall rubber bleeder caps if the vehicle uses them. The cap helps keep water and road salt out of the screw passage so the next bleed is easier.
A clear hose makes diagnosis easier
Use transparent tubing that fits the bleeder nipple tightly so you can see air bubbles and old fluid. A loose hose can draw air around the nipple and make you think the system still contains bubbles. Route the hose upward slightly before it drops into the bottle so escaping air does not easily travel back toward the caliper.
Keep brake fluid off painted surfaces because it can damage automotive paint. Wipe spills immediately with plenty of water according to the fluid and vehicle guidance.
Fresh fluid color is useful, but pedal feel is the final test
Old brake fluid can be dark, so watching fresh clean fluid emerge from the hose helps during a flush. Color alone cannot prove that every air bubble is gone. The pedal must become firm and consistent, and no fitting should leak under pressure. If the pedal slowly sinks while held, investigate the hydraulic system rather than assuming more bleeding will solve it.
After any brake-fluid work, clean spilled fluid from tools and painted surfaces immediately and wash your hands. Brake fluid is hygroscopic and should not be reused once it has been sitting open in a catch bottle.
Frequently Asked Questions
One-person brake bleeding works well when air is limited to normal lines and calipers, but the method has to match the hydraulic system.
How long does gravity bleeding take?
It can take many minutes per wheel and sometimes much longer depending on the system and fluid path. Haynes notes that gravity bleeding is not a hurry-up method.
Keep the reservoir full and be patient. Think about storage and repeat use as well as the immediate job. A product that works perfectly once but is awkward to store, service or replace can become a poor home-garage choice over time.
Do you need the engine running to bleed brakes?
Usually no. Most manual bleeding procedures are performed with the engine off unless the service information specifies otherwise. ABS automated bleeding can require ignition or scan-tool commands.
Follow the vehicle procedure. When safety is involved, manufacturer procedures and rated equipment take priority over internet shortcuts. Saving a few minutes is never worth creating a lifting, electrical or braking hazard.
Can you gravity bleed ABS brakes?
You can often bleed normal lines by gravity, but if air enters the ABS hydraulic unit, a scan-tool routine may be required to cycle valves. This varies by vehicle.
Do not let the reservoir run dry. Your best result comes from matching capacity to the task with some margin. Running tools continuously at their limit creates heat, wear and frustration even when the specification says the job is technically possible.
What order should you bleed the brakes?
Use the manufacturer-specified order. Farthest from the master cylinder to nearest is common but not universal.
Some diagonal split and ABS systems use a different sequence. That detail matters because it changes how safely and efficiently the job can be completed. You should choose the tool or method around the actual vehicle and working conditions rather than a headline specification.
Why is the pedal still soft after bleeding?
Air may remain, a leak may exist, a hose may be expanding, the master cylinder may be faulty or the ABS unit may contain trapped air. Recheck the work and fluid level.
Do not drive until the braking system is diagnosed and the pedal is correct. A controlled process is usually faster in the end because it prevents rework. If one step begins behaving differently from what you expect, stop and inspect before adding more force, heat, pressure or chemical strength.
Conclusion
Gravity bleeding is the simplest no-pump method. Keep the reservoir full, open one bleeder at a time in the specified sequence and never let air re-enter through a low reservoir or loose hose. The safest and most cost-effective result comes from choosing capacity and technique for the real job rather than buying or using more than the situation requires.
If the vehicle, tool or procedure falls outside what you can verify confidently, use the manufacturer’s service information or a qualified technician. Good garage work is repeatable, controlled and safe.